
Getting started
Quick start
Install the APK, finish setup, and start the server on your LAN.
What you need
- An Android 12+ phone (tested through Android 16)
- A private network you control (home Wi‑Fi, hotspot, USB tethering)
- Optional: a WebDAV client on another device (Windows, macOS, iOS, Linux, or Android)
First launch
- Open the app and complete the setup wizard.
- Create the first account — it becomes Admin.
- Grant Files access (required). Optionally enable Notifications and Run in background so the server stays alive.
- Pick a root folder (or skip and set it later in Settings).
- Open Home and tap Start Server.
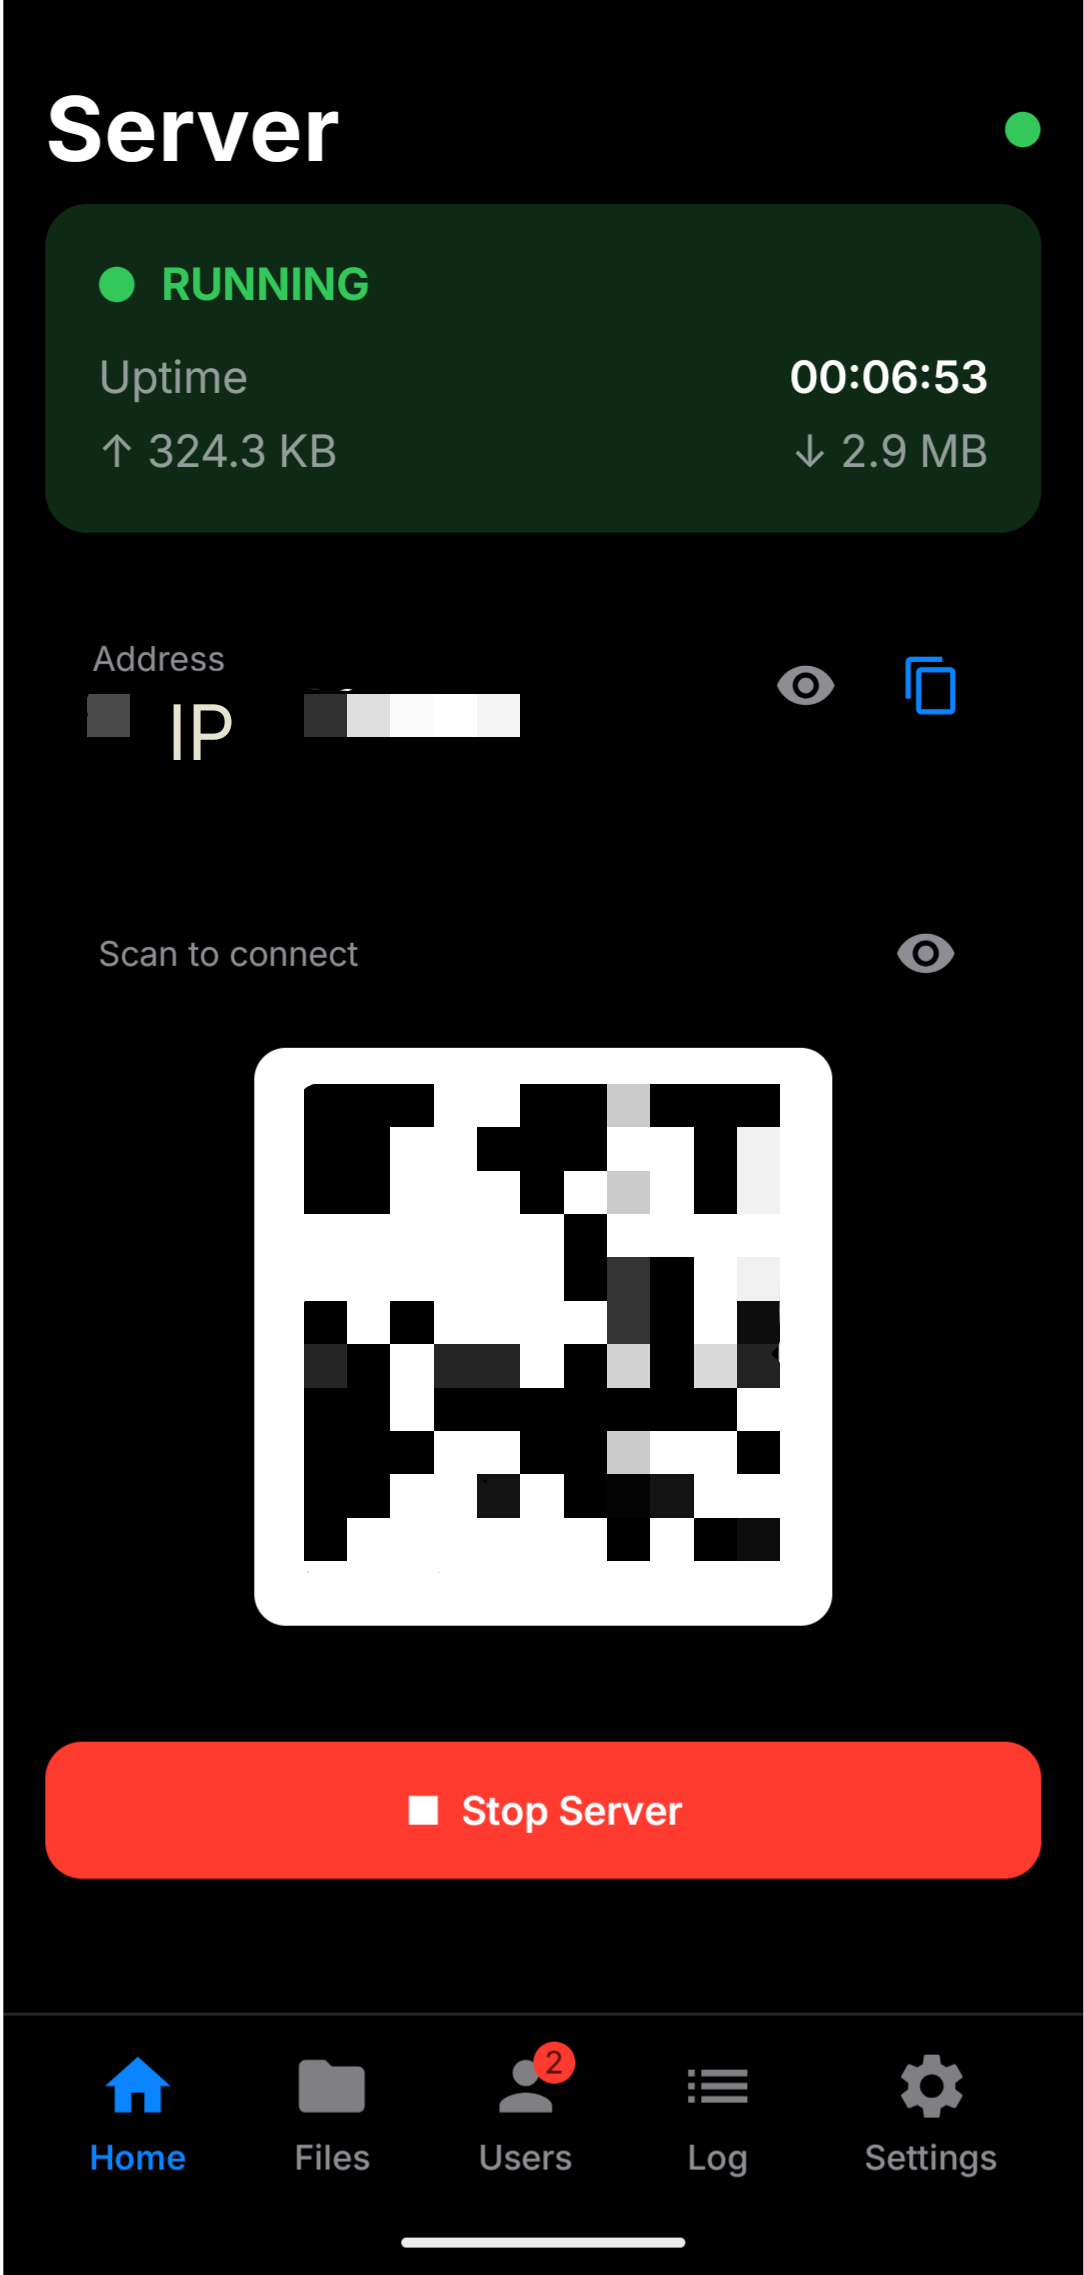
What you should see
| On Home | Meaning |
|---|---|
| Green RUNNING | Server is up |
| Uptime + ↑ / ↓ | How long it has been running and transfer volume |
| Address + copy | LAN URL for clients |
| Eye next to address | Hide / show the address on screen |
| QR + eye | Hide / show the “Scan to connect” QR |
| Red Stop Server | Tears down the embedded engine |
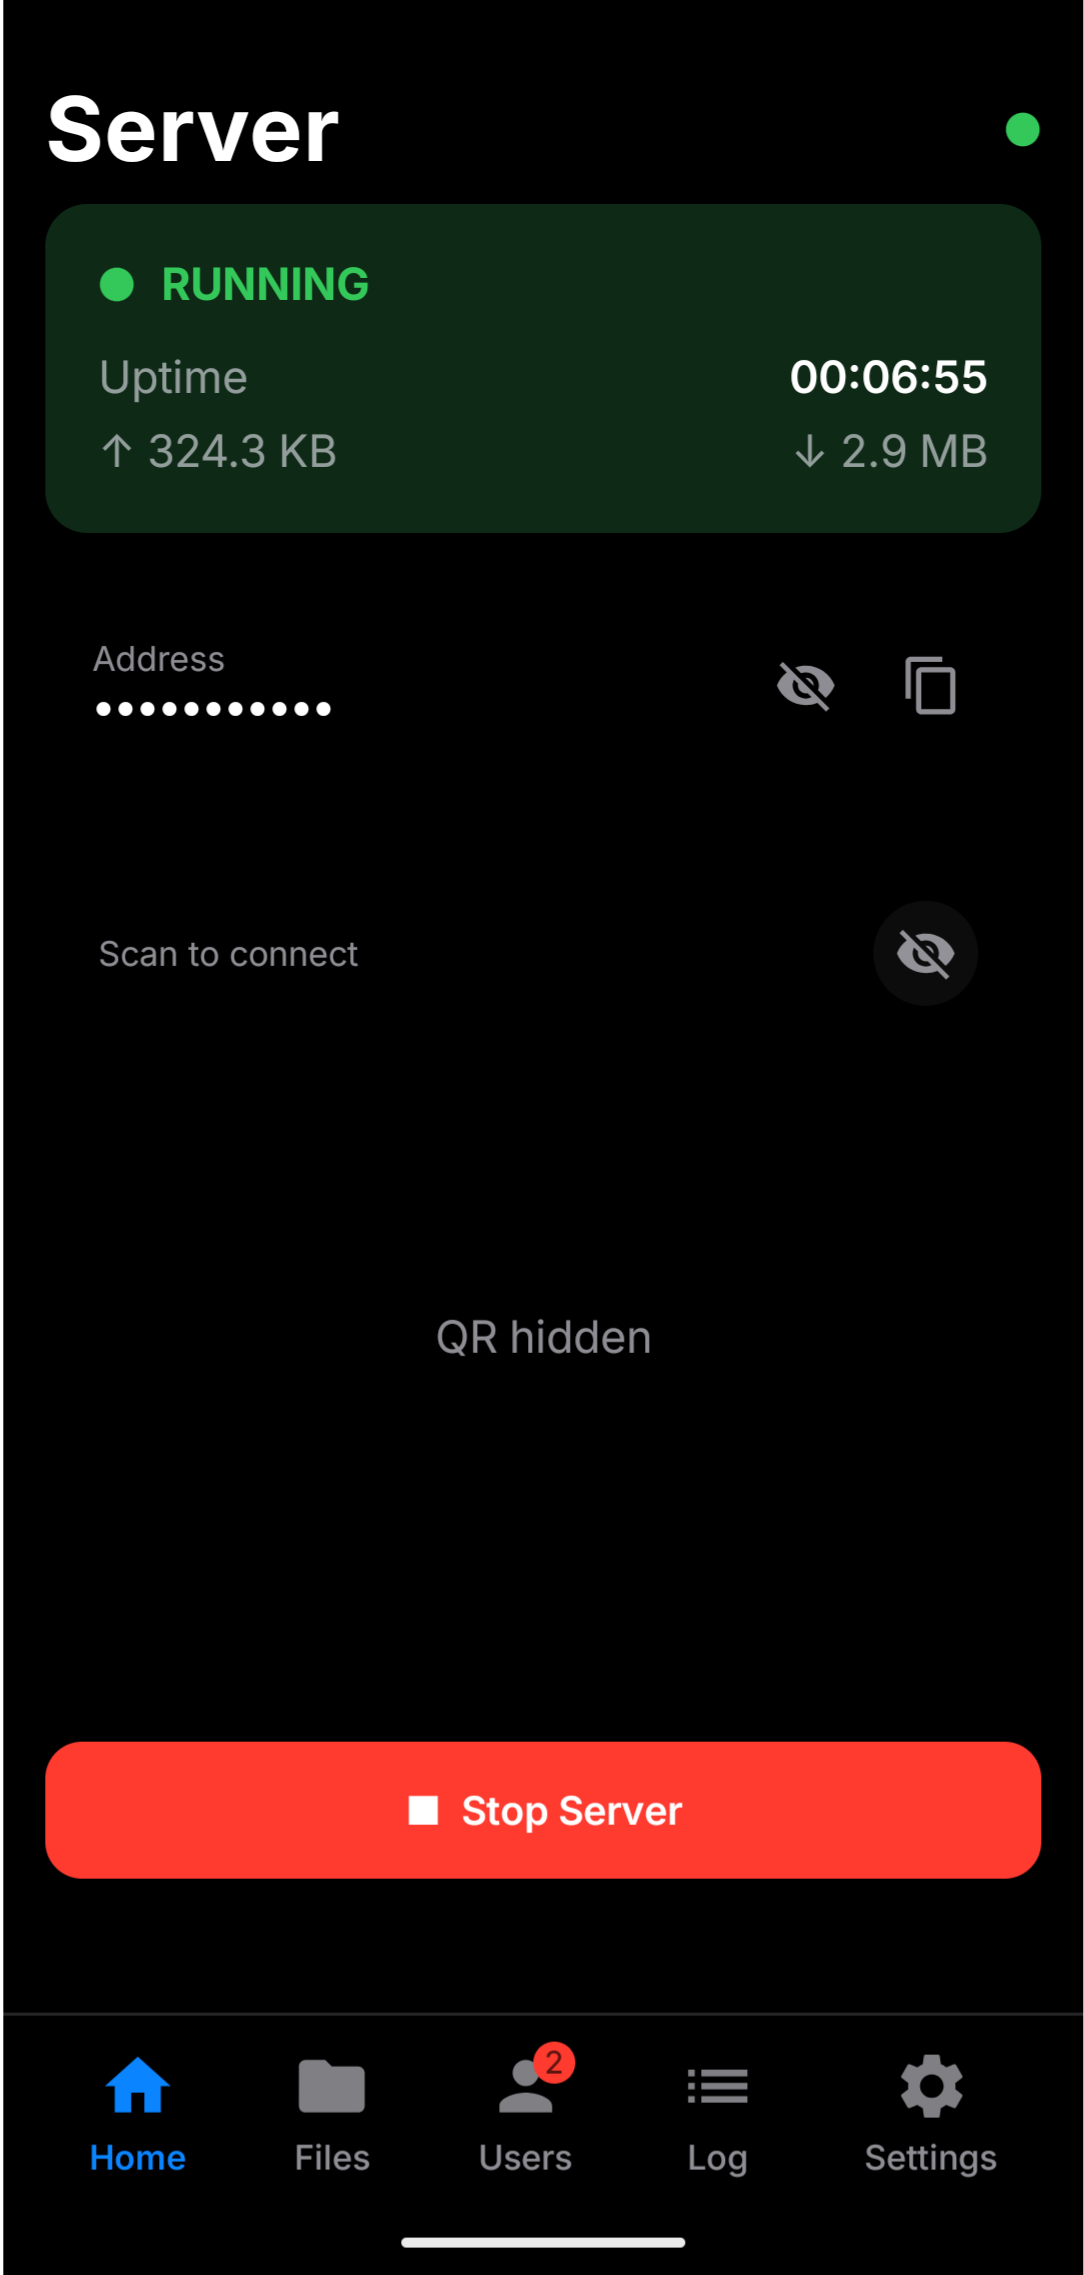
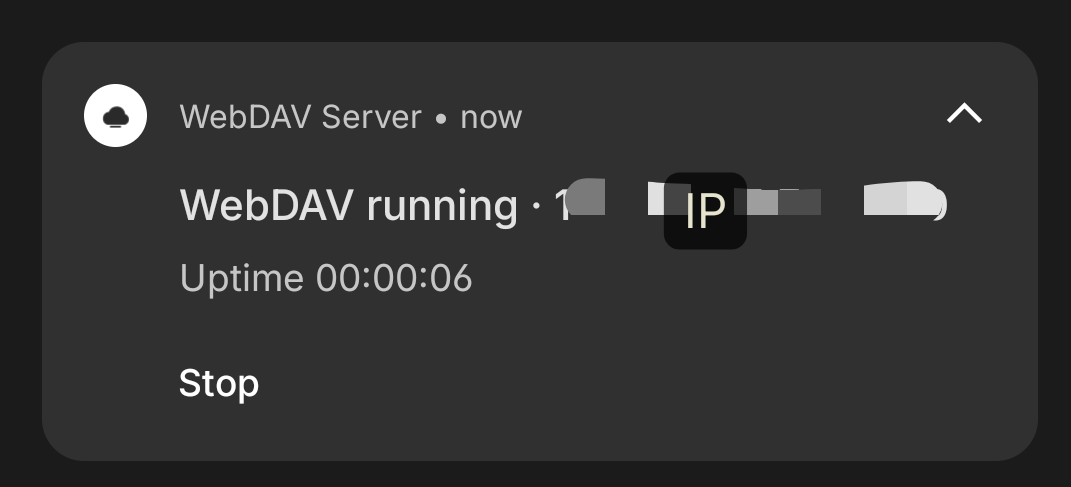
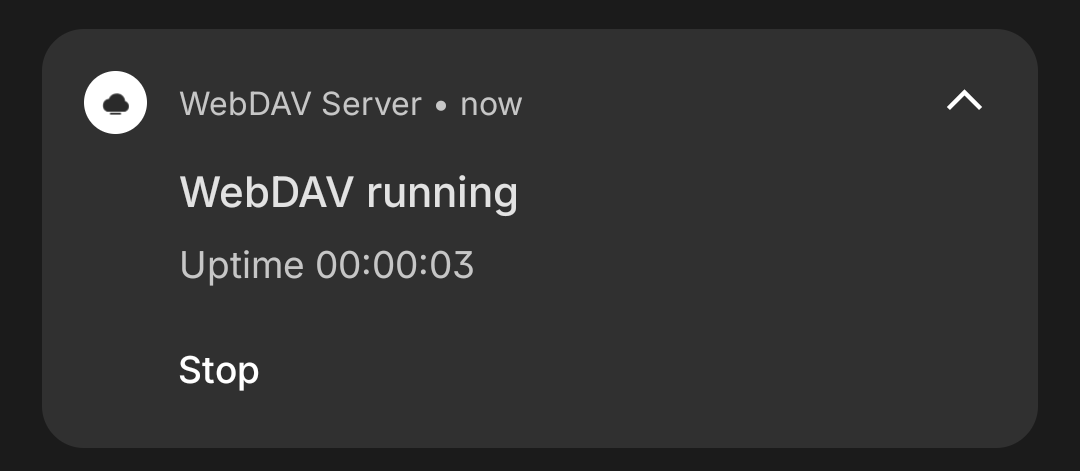
The system notification can show or hide the IP separately: Settings → Hide Address in Notification.
Build from source (optional)
If you have the project tree (Unix shell: bash, curl or wget, unzip):
chmod +x setup-env.sh build-debug.sh
./setup-env.sh
./build-debug.sh
adb install -r dist/webdav-debug.apk
Next
- Connect a client on Windows, macOS, iOS, or Linux.
- Features tour of Home, Files, Users, Log, and Settings.